 |
| My four-year-old makes a much cuter picture 😉 |
https://www.slideshare.net/larissanichols9/scub-caps-how-to-diy-tu
( The second link is not responding. I'll edit and re-post when it's working.)
I found the first pattern was much too small for my head and the second one was much too large. The one I designed is somewhere in between the two. I made - and trashed - three caps before I got the right fit. I say this to warn you that everyone's head is a different size so you might have to juggle with the sizing based on your skull and how much hair to have to tuck inside the cap.
Browsing in a fabric store for cute or cool fabric prints is not an option for me today, since I nearly had my head chewed off at the grocery store yesterday because I didn't see a lady BEHIND ME with her shopping cart. Eyes in the back of my head is not my super power. End of rant. I found some
fabric scraps from past projects for my scrub caps and had no fabric left for this impromptu tutorial. Thanks, cute three-year-old for donating one of your old crib sheets. Drool stains free of charge 😝. Only a few small tears were shed as she watched me rip up her sheet. This particular fabric was a little too thin so I made this cap with a double layer of fabric. I've included instructions for this as well. If you have a nice sturdy fabric, you can skip those steps. If you're using new fabric, please and wash and tumble dry your fabric before proceeding; otherwise, it will shrink the first time you wash your cap and then you'll be disappointed if it doesn't fit.
I printed off a grid so you can see the exact size. I used construction paper to make the templates. Card stock would work also. Or an empty cereal box.


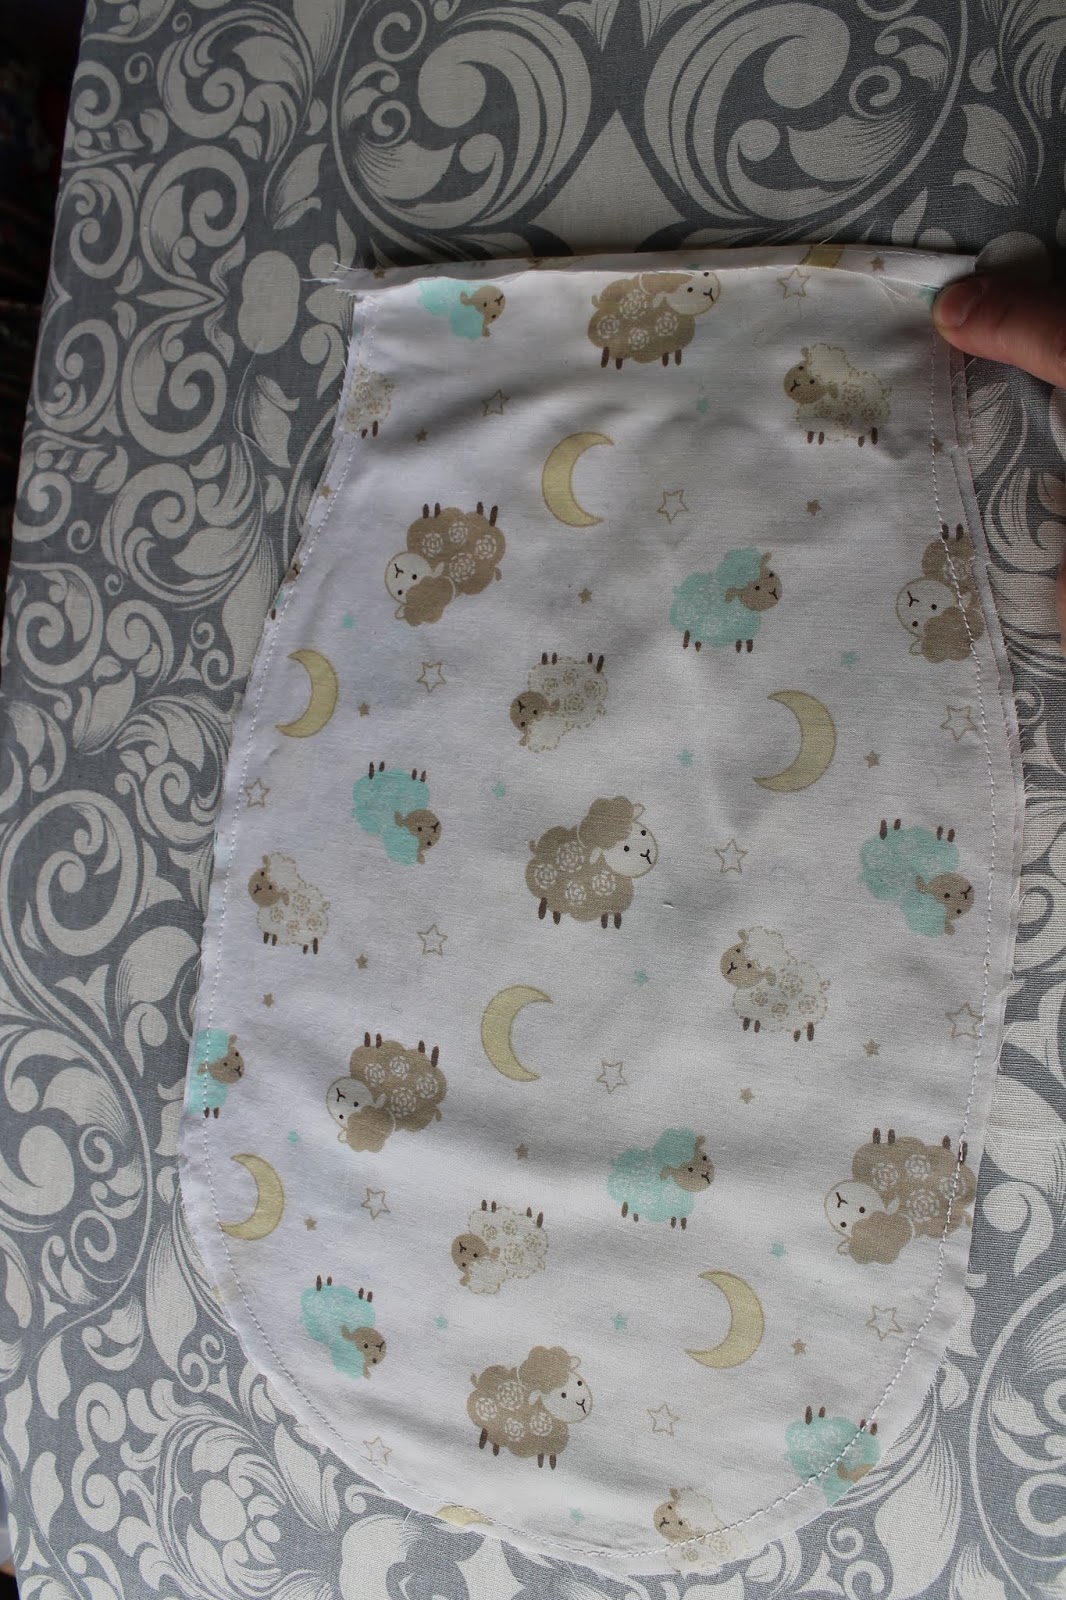
If you are doubling your fabric to make a sturdier cap, cut out two identical copies of each template. Put the fabric pieces WRONG sides together and pin them.
 |
| Only do this if you are double layering your fabric; otherwise skip this step. |
 |
| Only do this step if you are double layering your fabric; otherwise skip this step. |


 |
| First fold |
 |
| Second fold + a 3" piece of elastic. |


Insert the elastic into the casing.

When the end of the elastic is flush with the opening, stitch it in place.
 |
| The elastic with the safety pin is hiding inside. |
Pull the elastic through to the opposite end and secure with a pin.


Stitch the elastic to the end.

Going back to the other piece of fabric, press a seam allowance across the bottom edge.

One each tie end, fold twice and press.

Fold up the bottom edge and pin. This forms the two ties and the bottom edge of the cap that sits closest to you face.

This is what it looks like when you're finished pinning:

Sew a straight stitch all the way across as shown below:


Mark the centre of top of each piece of fabric. (The opposite end of what has already been sewn).

Pin the two pieces RIGHT sides together:

This is what it looks like when you're all done pinning:

Sew the two pieces together using a straight stitch. If you doubled your fabric, make sure your stitching inside that seam so you won't see it in the finished product.
Then go over your seam with a zig zag. Then if you're ambitious, iron the seam flat to one side.

And there you have it!


